Disk Image Backup Restore Guide
Disk Image backup protects a complete disk or individual partitions and allows you to restore the backup to bare metal in the event of a disk failure.
Boot your Workstation / Server with the eazyBackup USB recovery media and restore disks or partitions without requiring temporary spool space.
The Disk Image can be restored to dissimilar hardware if needed.
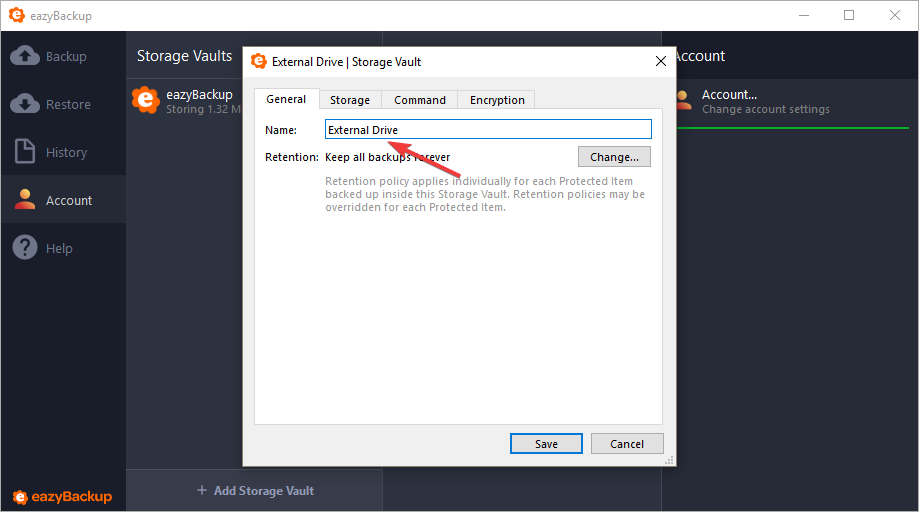
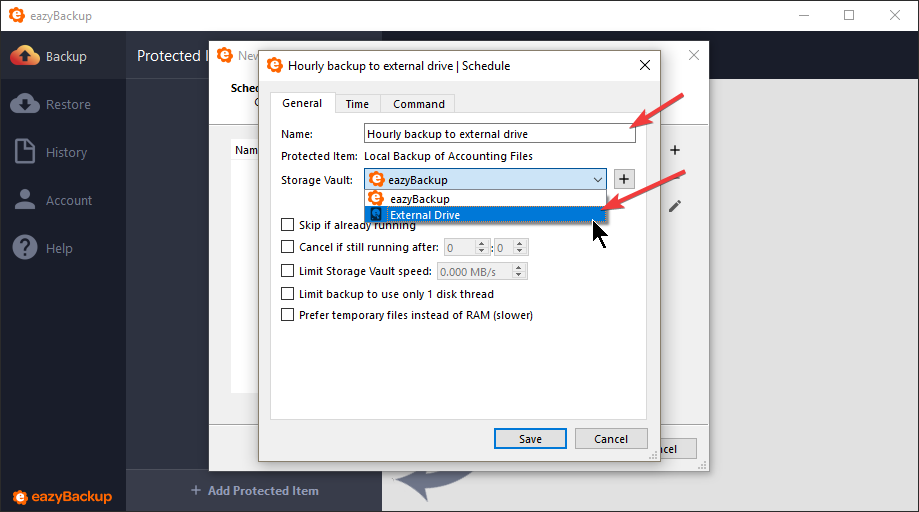
Disk Image Backups can be performed to multiple destinations, such as a local storage device in addition to cloud storage. Having a local, onsite backup will reduce the time needed restore large backups and offers additional redundancy.
Disk Image Backup
The demo video shows how a typical Windows PC can be backed up using the Disk Image Protected Item type.
Disk Image Restore
The demo video below shows the restore process using the USB bootable recovery media. The system is booted from the USB media and the system disk is restored directly from cloud storage.
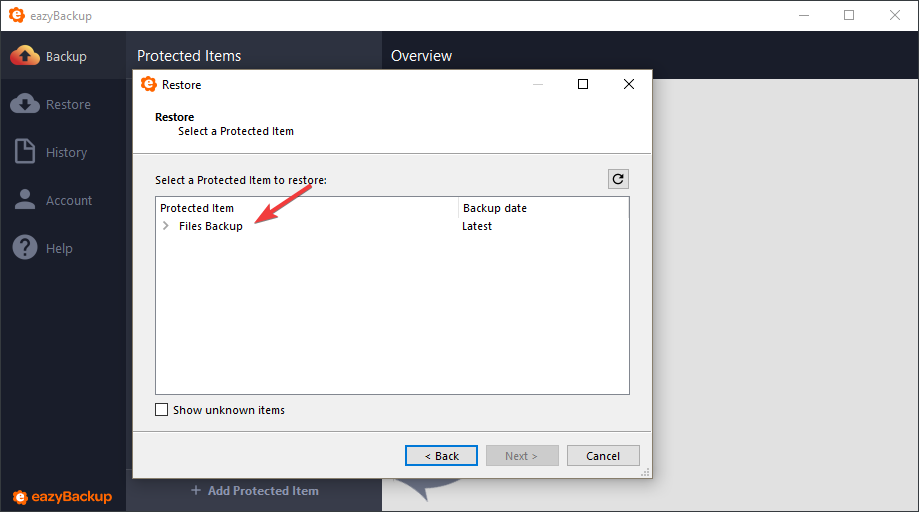
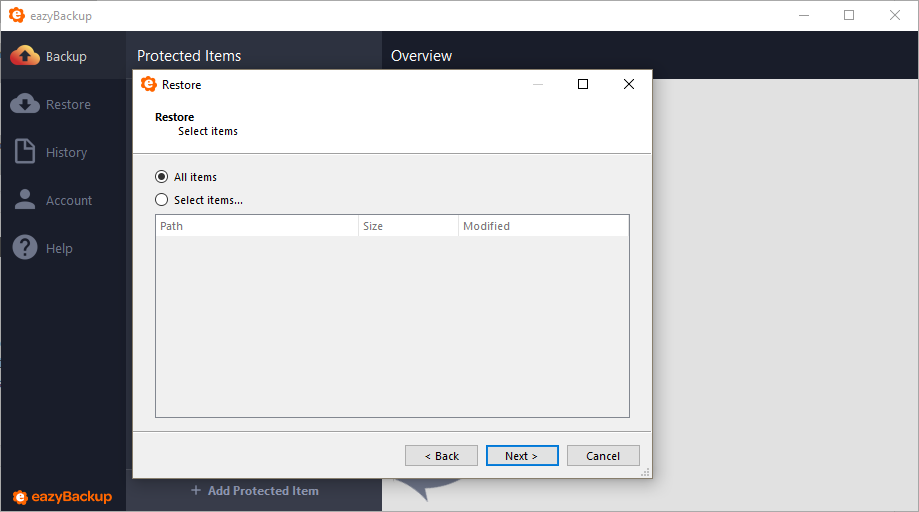
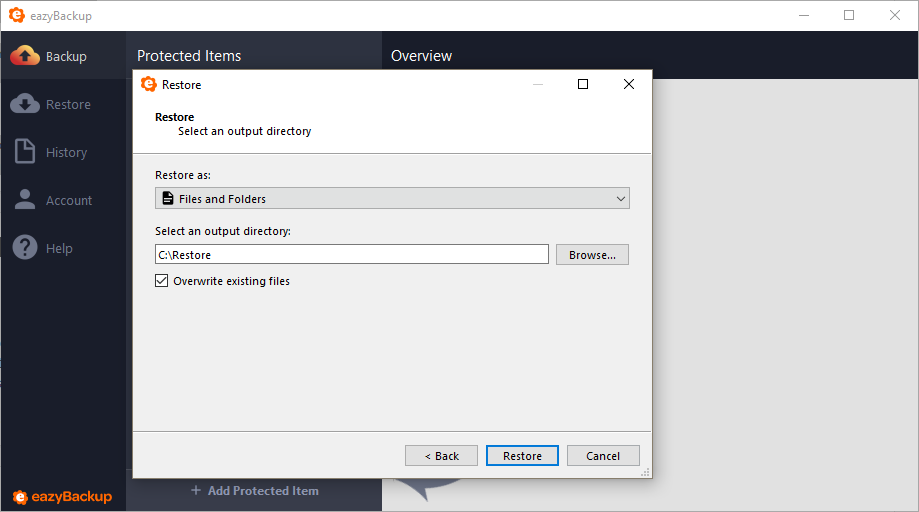
Restore options
The Restore wizard inside eazyBackup allows restoring of backed-up disks and partitions directly to physical disks and partitions, without requiring temporary spool space. Alternatively, it can be restored as virtual disk files.

eazyBackup stores the Disk Image files in VMDK format, from which single files can be extracted.
Restore to physical device(s)
In order to restore to physical hardware, the target disk or partition should be unmounted (not in use). eazyBackup may be able to do this automatically from within the currently booted OS if no programs are using the target drive (e.g. for a non-boot drive).
- If the goal is to restore to the boot drive, first, reboot the PC into a recovery environment.
- When restoring a smaller partition into a larger one, eazyBackup will automatically extend the restored filesystem to the fill the target partition. eazyBackup does not support restoring a large backed-up partition into a smaller physical partition. The partition must be shrunk using the OS’s partition manager prior to performing the backup.
Restore from Windows boot environment
- Select a backed-up disk or partition to restore, from the left-hand column
- Select a target disk or partition to write to, from the right-hand column
- Click the Add to restore queue button
- Repeat steps 1-3 as necessary for other disks and partitions
- Click the Restore button to begin the restore job
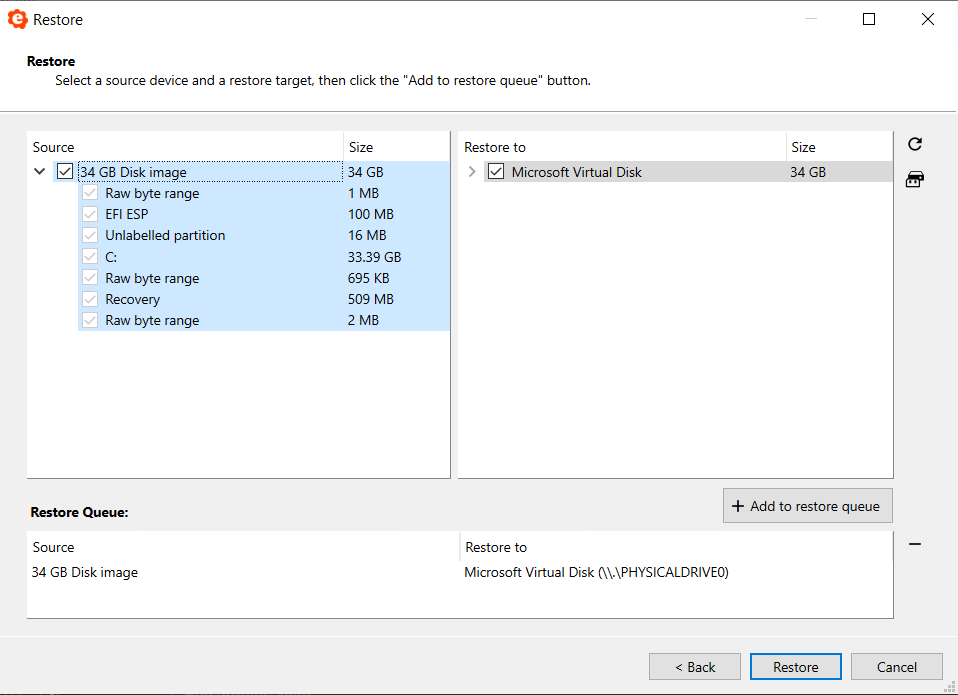
- The Edit function can be used to re-partition the local drives using Windows Disk Management. After doing so, the Refresh function may be used to refresh the view of the local disks and partitions able to be selected for restore.
Restore from Linux boot environment
Steps to restore an entire disk, without spooling:
- Restore just the
disk.vmdkfile (without the data extents), and open it in a text editor in order to read the partition sizes. - Recreate partitions to the exact target size
- Single partitions can be restored without any local spool disk, using the "Program Output" restore option, and selecting only a single partition file for restore:
dd of=/dev/sdx1 bs=8M
Restore Disk Image as virtual disk files
There is one plain text VMDK descriptor file containing metadata about the whole drive, plus separate raw image files for each partition’s extent on the disk. The plain text file is labelled disk.vmdk by default.
Partitions of the disk that were not selected for backup are represented as zero extents in the VMDK descriptor file. The effect of this is that the restored disk image will appear to have the full disk size, even if only a small amount of partitions inside it were selected. However, the zero extents will be compressed inside the Storage Vault.
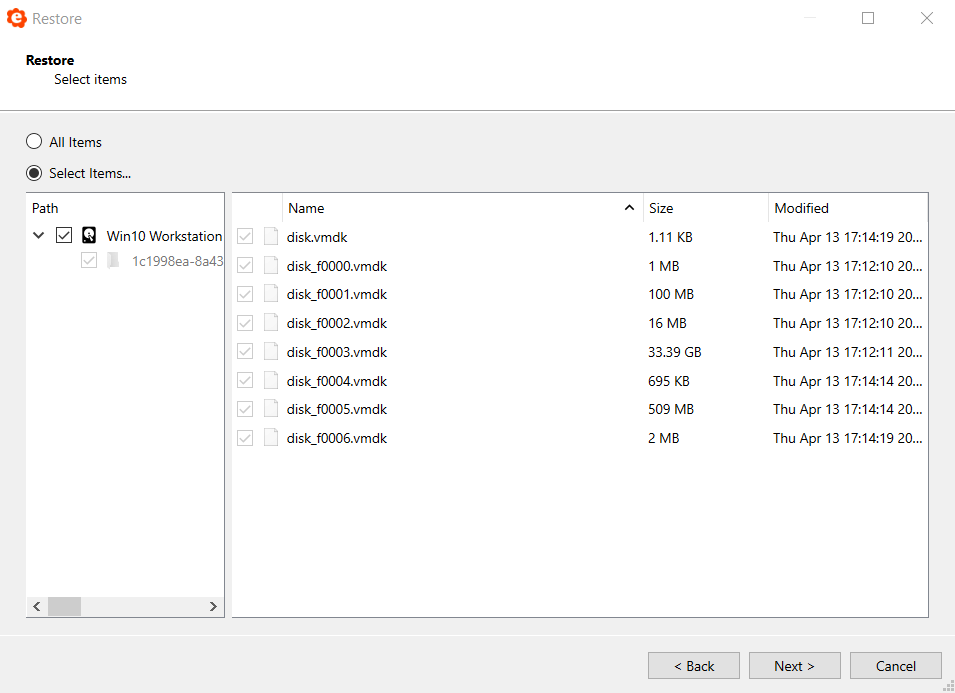
The VMDK disk images may be restored, then, optionally, do one of the following:
- Extract single files from them, or
- Recover to a local virtual machine, or
- Recover to a cloud server
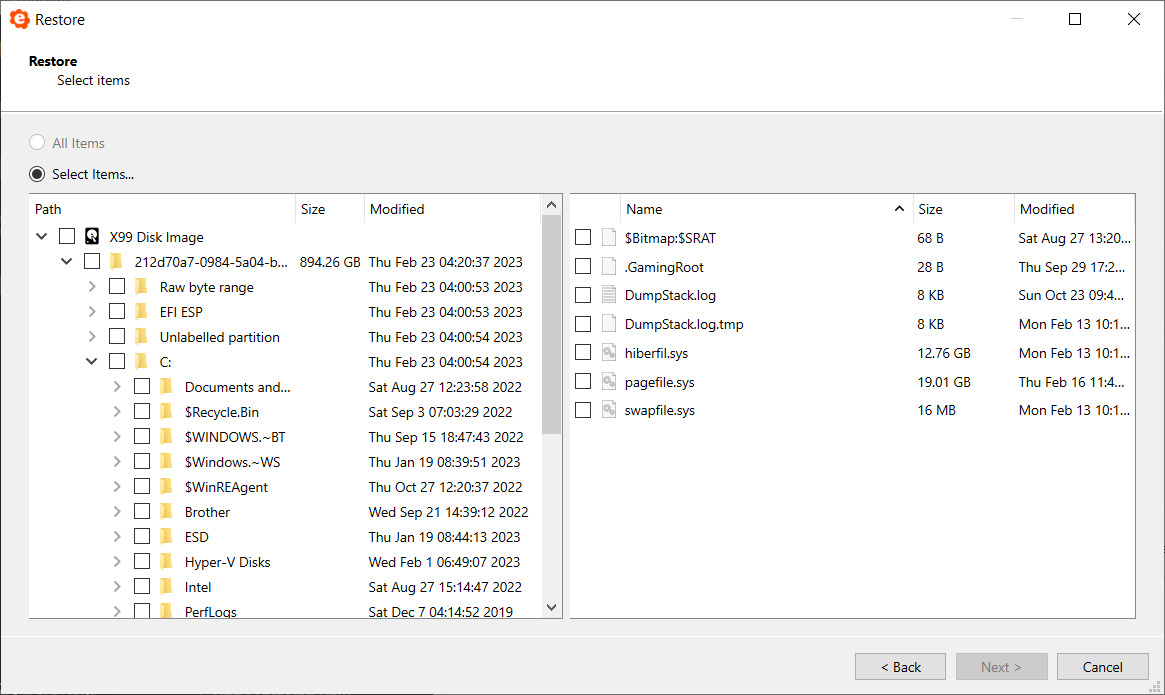
Restore files and folders from Disk Image
This feature allows a customer to browse the filesystem in a Disk Image backup and restore files and/or folders without downloading the whole VMDK disk image in advance. Currently this feature is supported for the NTFS.
VMware virtual disk
Starting from version 23.9.5, there's a new feature for disk image backup. Now, you can restore your disk image backup as a virtual disk that works with VMware. This means you can use it in VMware without needing to change anything.
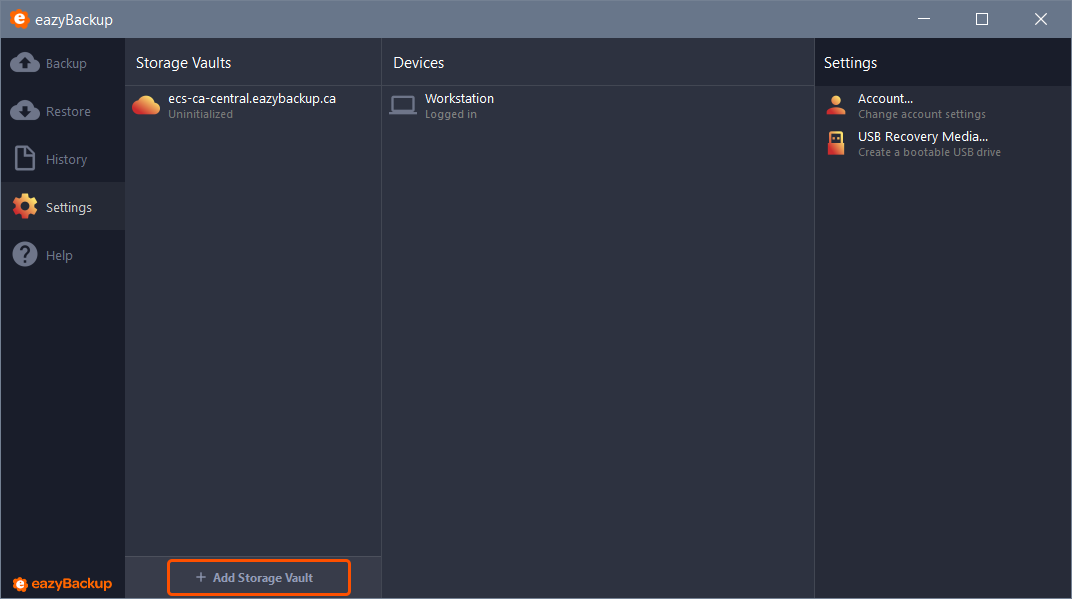
Create USB Recovery Media
The eazyBackup app supports the creation of USB Recovery Media from the wizard on the Settings screen.
This allows a user to boot from the USB device, type-in the username and password for the backup account, and make a full restoration from backup onto the drive(s) of the connected PC. In this fashion, bare-metal restorations can be achieved.
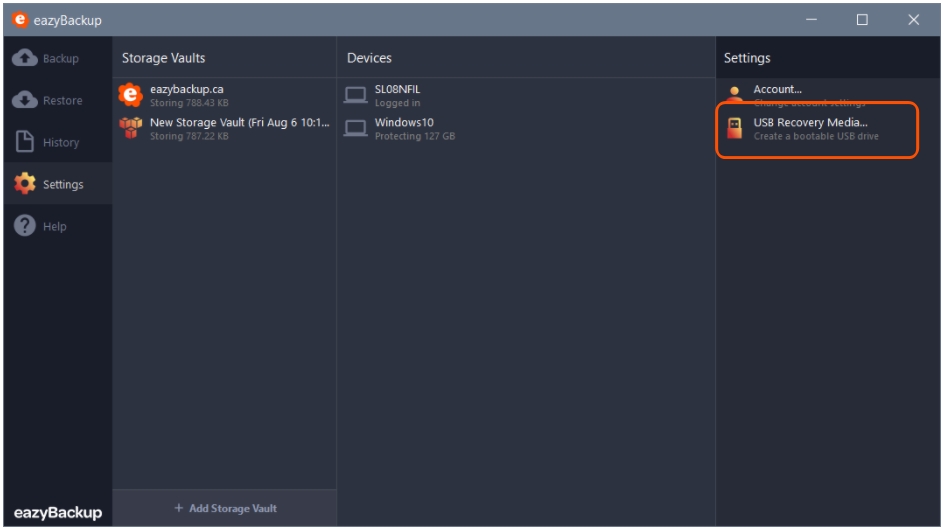
The following options are available:
- WinRE
- Windows To Go
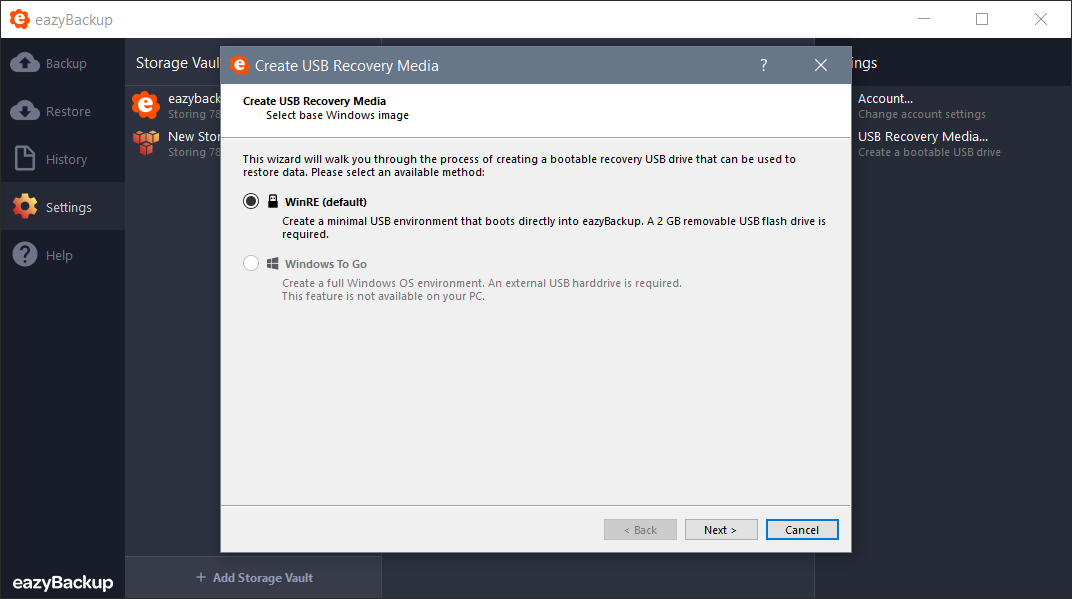
WinRE
Selecting this option allows the creation of a minimal USB Recovery Media based on the Windows Recovery Environment.
Windows To Go
Selecting this option allows the creation of a full Windows boot environment. this method
Other boot environment
A recovery environment may also be created in other ways. Both Windows or Linux can be used as a suitable recovery environment. Some possible methods include:
- creating a Linux bootable USB drive, or
- using a third-party tool like Rufus to create a Windows-To-Go drive, or
- using recovery media from your PC OEM vendor (e.g. Lenovo / Dell / HP)
In these cases, the eazyBackup app will need to be launched manually, once booted into the recovery environment.