Search
-
Guides
- Getting Started Guide
- Creating Protected Items
- How to Backup Windows Network Shares and UNC Paths
- Disk Image Backup Walkthrough
- Disk Image Backup Restore Guide
- Backup to a Local Device (External or Internal Hard Drive)
- Securing your backup against Ransomware
- Two-Factor Authentication for Backup Accounts
- Seed Load Walkthrough
- Microsoft Office 365 Backup Guide
- Restoring Office 365 Items
- Microsoft Office 365 Cloud to Cloud Backup for MSP
- eazyBackup Control Panel
- Delete backup snapshots to reduce storage vault size
- Kroll Pharmacy Management Database Backup
- How to Backup Dentrix Database to the Cloud
- How to Backup Patterson Eaglesoft Dental Software
- Hyper-V Virtual Machine Backup Walkthrough
- Storage Vault Usage Report
- How to Restore Files and Folders
- Show all articles ( 5 ) Collapse Articles
-
Documentation
- Add and Rename Storage Vaults
- Available storage locations
- How to run manual backup
- Backing up Windows network shares and UNC paths
- Browse job history
- Cancel a running backup job
- Commands
- Backup Report Email Address
- Custom Email Reports
- Deleting a Protected Item
- Disk Image Backup
- eazyBackup Software Structure
- Error "Access to the cloud file is denied" backing up OneDrive
- Retention (Storage Vault)
- Confirm EFS keys are exported (Windows EFS)
- Data encryption
- eazyBackup Chunking Overview
- eazyBackup Chunking and Deduplication
- Storage Vaults
- Re-scan unchanged files
- Required URLs and ports for eazyBackup
- Setting up a new backup account (license) in my dashboard
- Retention
- Before and After Commands
- eazyBackup Hotfix Install
- Default File / Folder Exclusions From Backup
- Restore from Deleted Protected Item
- Random Job Delay - Protected Item Schedule
- Copy a Protected Item Configuration to New Device
- Manage Vaults on Protected Items - Add/Remove/Update
- How to Remove a Registered Device
- Configuring Retention Policies
- Backup Server and Client Branding
- Backup Server Email Configuration
- Show all articles ( 19 ) Collapse Articles
-
FAQs
-
Troubleshooting
- Cannot proceed - another task needs to finish using the Storage Vault first.
- Change of hardware causes registration dialog to appear
- Diagnosing Slow Backup Jobs
- Error "EFS-encrypted files may be unusable once restored"
- Error "Media is write protected" backing up OneDrive with VSS
- Error "operation not permitted" macOS
- Error "The target path 'X:\WindowsImageBackup' already exists - please safely remove this directory and retry the backup."
- Error backing up item exit status 3 Couldn't create virtual device set: Unknown error 0x80770005
- Found packs in index but not appearing on disk. Reindex needed
- Inactive / Abandoned "Running" Jobs
- Lost connection to local service
- Lstat: CreateFile \\?\UNC\ backup: Access is denied.
- Mount path conflict: Can't mount path inside real directory
- OneDrive error "The tag present in the reparse point buffer is invalid"
- Out of memory
- Shared Memory Provider: Could not open a connection to SQL Server
- VSS Error - Device is not ready
- VSS Error: Couldn't take snapshot. The shadow copy provider had an unexpected error while trying to process the specified operation
- Windows Backup encountered an error when writing data to the backup target.
- Error "Access is denied" when backing up files and folders on Windows
- Error "local error: tls: record overflow"
- Microsoft SQL Server backup encountered a VDI error
- Network connectivity errors
- How to Locate EFS Encrypted Files and Disable EFS
- Couldn't save folder details: fs.TempFile: Access is denied
- Couldn't save Office 365 data for account - The requested user is invalid
- WARNING Data error (cyclic redundancy check) occurred inside byte range
- Set-Disk : Access Denied During Disk Image Backup
- The System State encountered a problem: exit status 0xfffffffc
- Runtime: VirtualAlloc of xx bytes failed with errno=1455 fatal error: out of memory
- Disk Image Backup - Checking if device is ready: DeviceIoControl: The request could not be performed because of an I/O device error
- Checking if device xx is ready: DeviceIoControl: The request failed due to a fatal device hardware error
- x509 Certificate has expired or is not yet valid
- Couldn't load tree/xyz for subdirectory: tree/xyz not present in any index
- Optimizing snapshot: not present in any index
- Reading subdirectories of - Open: /Files/Documents/ operation not permitted
- file truncated (expected xxxx bytes, got 0)
- WARNING: Node (xxxx) filename.ext' collision at position xxxx
- How to easily find disks with read / write errors in Windows
- Multiple connections to a server or shared resource error
- Application failed to start because no Qt platform plugin could be initialized
- OneDrive The cloud operation is not supported on a read-only volume
- Show all articles ( 27 ) Collapse Articles
Seed Load Walkthrough
This is a walkthrough of our Seed Load process. Using this method allows you to perform your initial backup to a local external hard drive and then courier the external drive to the server administrator.
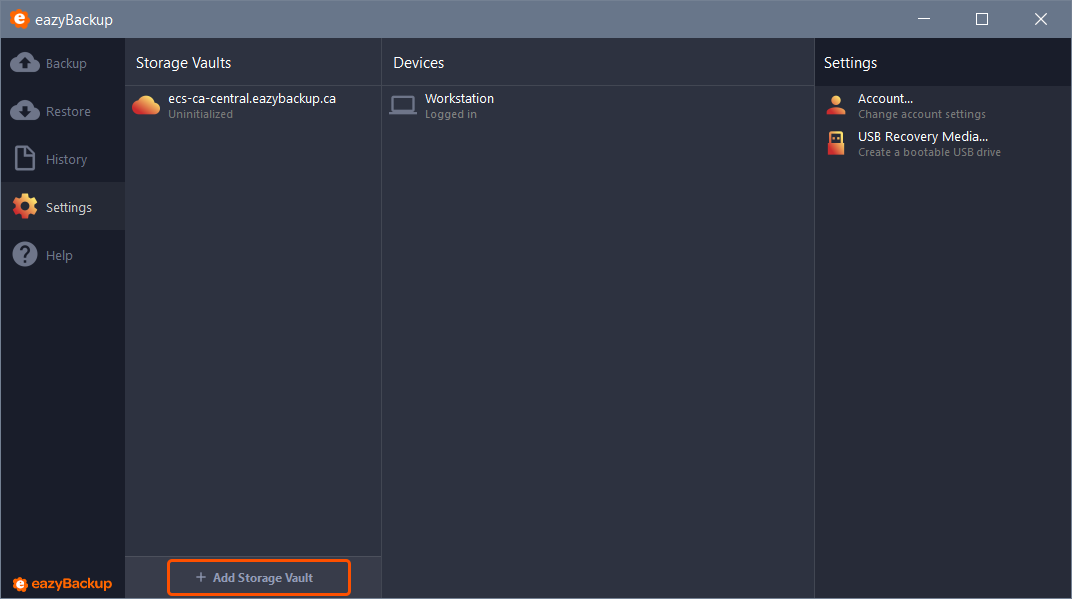
Open the eazyBackup application and select the "Accounts" menu. Click on "Add Storage Vault"
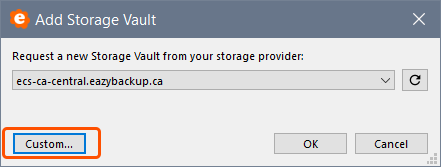
Select 'Custom' to create a local storage vault.
Name the new vault something descriptive.
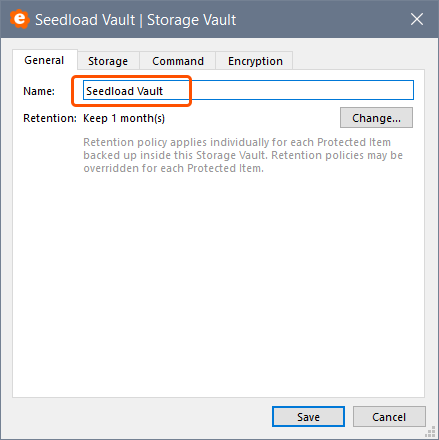
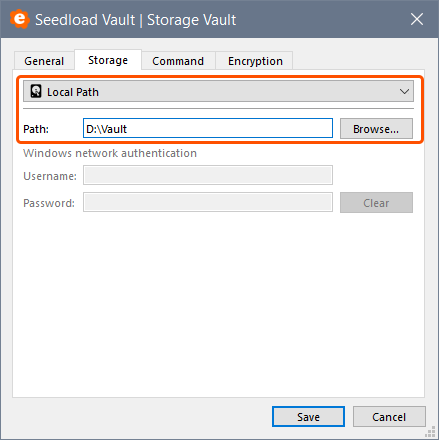
From the 'Storage' tab, select Local Path from the device storage drop down menu.
'Browse' and select the device you are going to use to store the backup data. Click Save to continue.
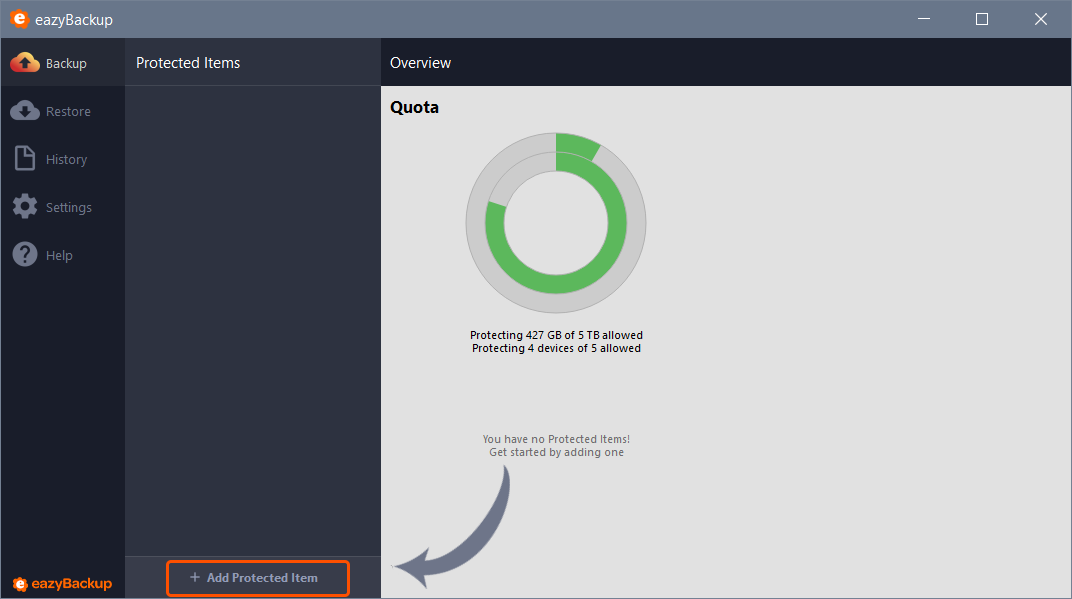
The local vault will be used to store the seed data. Create a new "Protected Item" for the seed load backup. Select the "Backup" menu and "Add Protected Item".
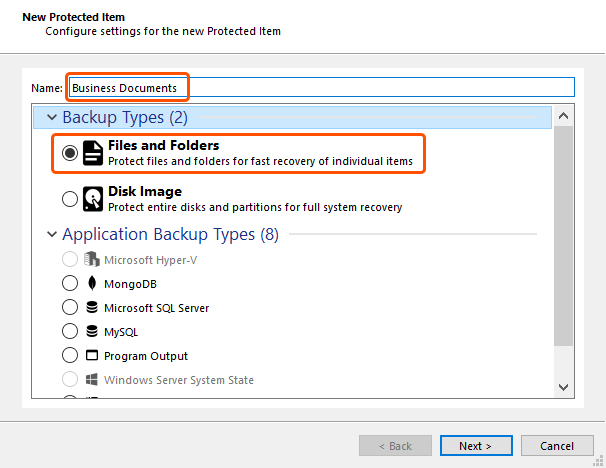
Give your Protected Item a friendly name, something to identify what you are backing up.
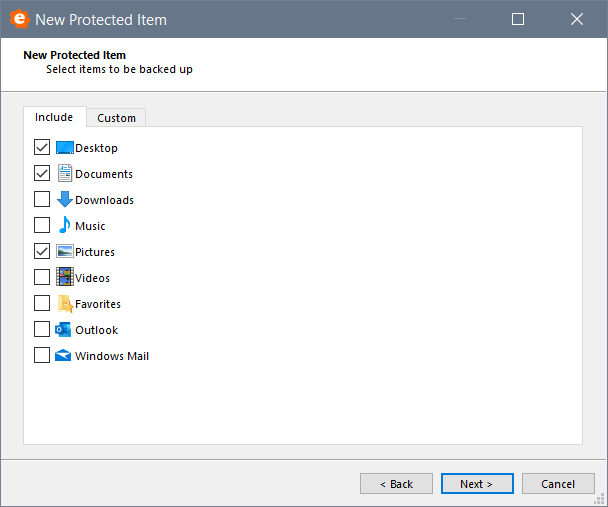
Proceed to select the files / folders you want to include in the backup.
Schedules can be configured at a later date after the seed load backup has been imported account. Our team will advise you when it is safe to begin scheduled backup jobs.
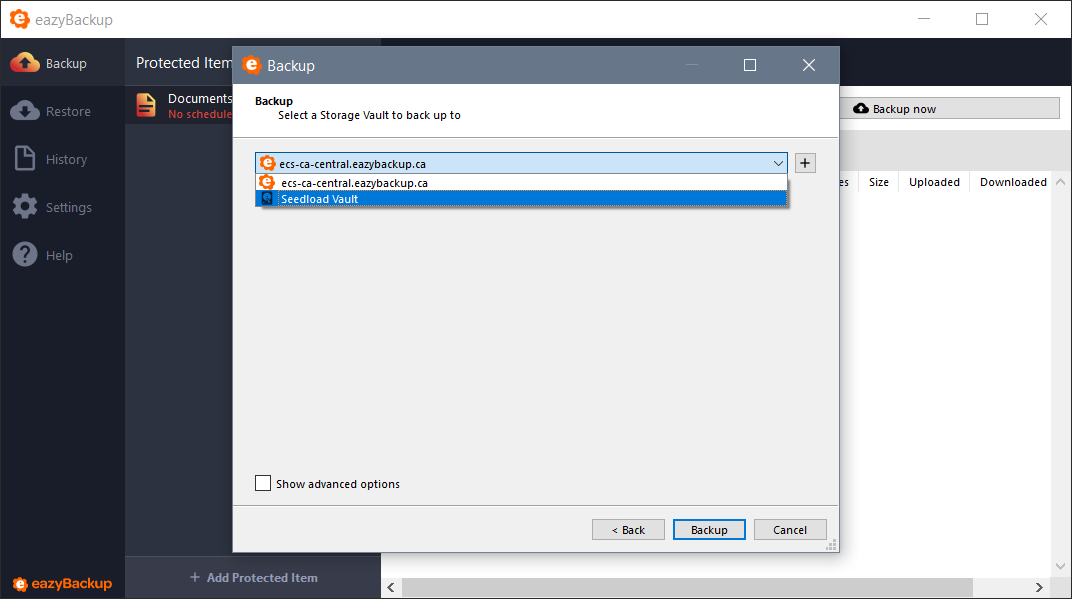
When you are ready to start this backup job, you will be prompted to select a Storage Vault. Select your local Storage Vault (which you created earlier) as the destination.