Search
How to Backup Dentrix Database to the Cloud
We reccomend performing a daily backup of the Dentrix database. Start the backup after business hours to ensure all patient data is included in the daily backup.
We suggest that in addition to the Dentrix common folder, you backup all of the files on your server with our File/ Folder Protected Item. You can also perform a Disk Image backup in the event that you require a bare metal disaster recovery solution. At a minimum it is critical that you back up your Dentrix database files from the Common folder.
Step 1. Schedule a daily database export from Dentrix:
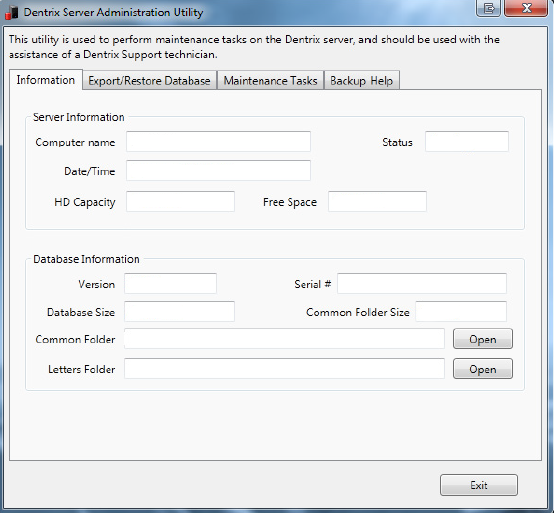
Export a copy of your live database either manually or automatically. For this step you will need to use the Dentrix Server Administration Utility. In order to back up the active Dentrix database files, the database must be exported to a location where the eazyBackup desktop application can back up a copy of your database.
- Open this Dentrix Server Administration Utility. This is usually located at C:\Program Files\Dentrix\_ServerAdmin.exe.
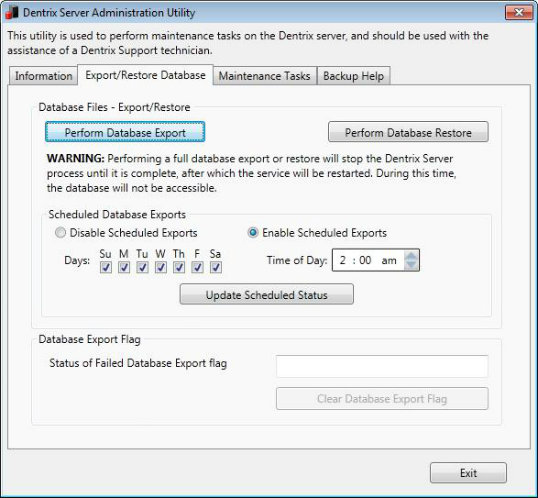
- Click the Export/Restore Database tab
- Under Scheduled Database Exports, select Enable Scheduled Exports.
- Configure your scheduled export time
- Click Update Scheduled Status to save the export schedule.
Step 2. Schedule eazyBackup to backup the Dentrix database export
- Open the eazybackup desktop application
- Click Add Protected Item
- Choose Proted Item type File / Folder Backup
- Click the Custom tab
- From the Custom file selection tab, choose the location where you scheduled the daily export of the Dentrix database.
- Click Next in the Protected Item wizard until you reach the Schedule option. Create a new daily backup schedule for this Protected Item.
- Remember that your Dentrix database export must have completed before eazyBackup can start, allow enough time between when the Dentrix Server Administration Utility exports a copy of your database and when eazyBackup is scheduled to run.