Backup Server Email Configuration
Email
Your Backup Server can be configured to send email reports. To use this functionality, you should configure how email is sent.

You should set the "Send as" properties to configure how email appears to the recipient.
Delivery method
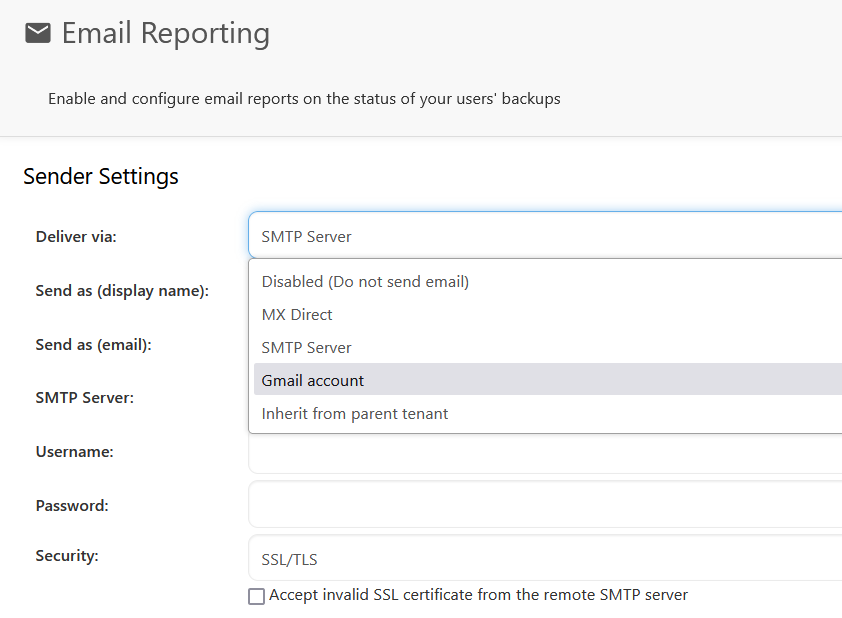
You can choose to send email via one of four options:
None (Do not send email)
Select this option to disable sending email from the Backup Server.
The Backup Server will be unable to send email. You can use this option if you want to disable all outbound email from your Backup Server.
MX Direct
MX Direct allows you to send email from your Backup Server without needing to configure a custom SMTP server. However, there is a greater chance of the email being discarded as spam.
SMTP Server
If this option is enabled, your Backup Server will send email via an SMTP server.
The following options should be configured:
- Deliver via: SMTP Server
- Send as (display name):
- Send as (email):
- SMTP server address:
SMTP server port: - Username:
- Password:
- Security: one of "SSL/TLS" (default port 465), or "STARTTLS" (default port 587), or "Plain" (default port 25)
- Option to accept invalid SSL certificate from the remote SMTP server
You should leave this option unchecked. However, if you encounter errors, you may choose to enable it.
In comparison to how SSL certificates are used for HTTPS, it is surprisingly common for SMTP servers to use an invalid SSL certificate.
Gmail account
If this option is enabled, the Server will send email via a Gmail account. Internally, this uses known configuration information for Gmail's SMTP server.
The following options should be configured:
- Deliver via: Gmail account
- Send as (display name):
- Email address: example@gmail.com
- Password: Enter your Gmail password
Gmail accounts with two factor authentication
If you are using two factor authentication for your email account then you will need to create a Gmail Application-Specific password or the email will not work.
Log into your Google account and visit your App passwords page. You may be asked to sign in to your Google account.
Click Select app and select Mail. Click Select device and select Other.
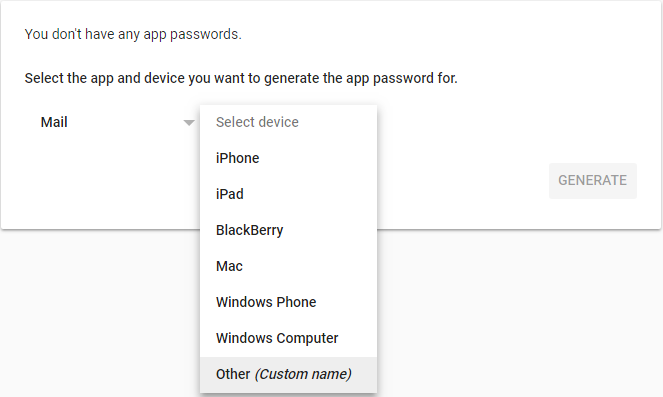
Type in the name of the device (My Backup Server) and click Generate.
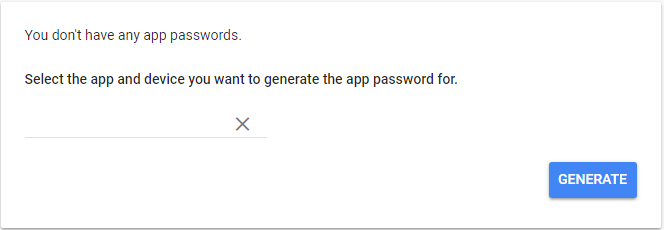
You will be given a password which you will use when setting up the Gmail account within the Backup Server.
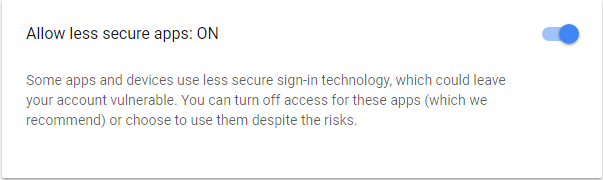
Allow less secure apps
If Gmail is not working with your Server, then you will have to enable the "Allow less secure apps" setting.
Log into your Google account and open the security settings.
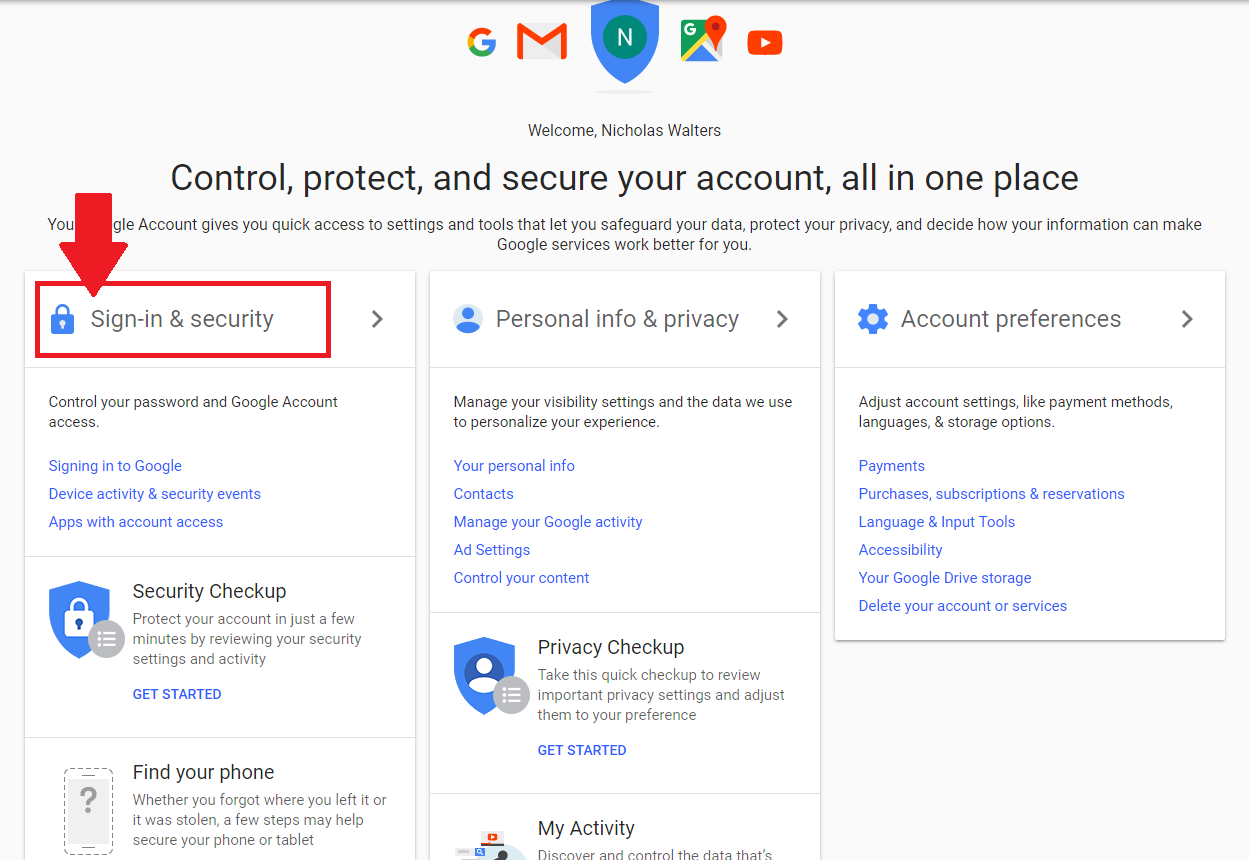
Scroll down until you see Allow less secure apps and turn it ON.